|
Part 1 - carving
/
Part 2 - Analysis of the weak points
/
Part 3 - Preparation of the components
|
Overhauling
|
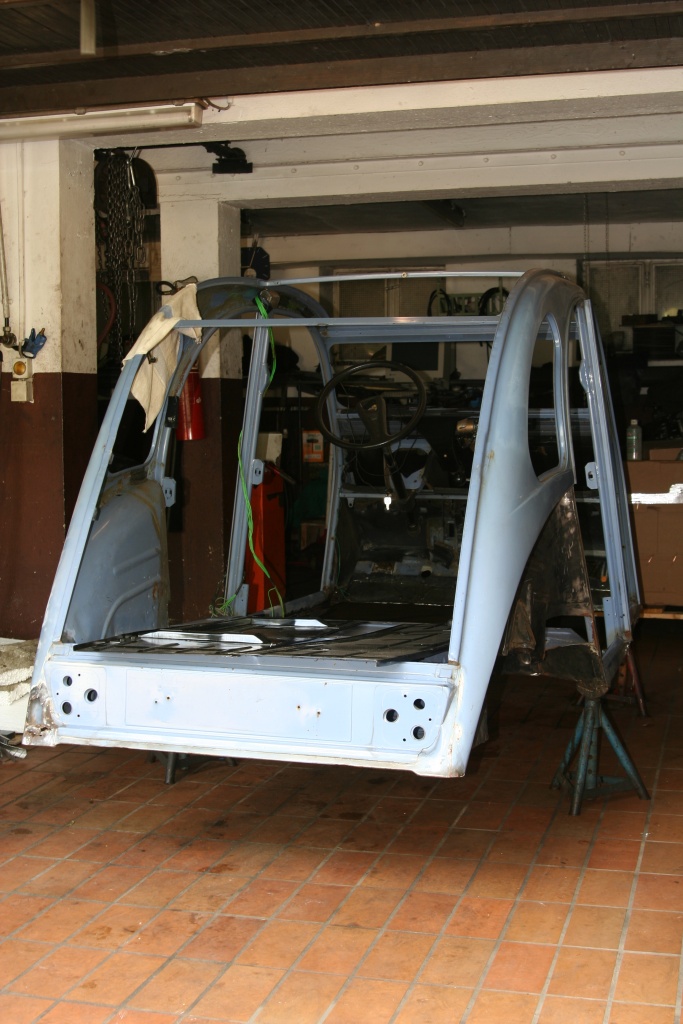
After differentiating between useful parts and scrap metal, I had to keep away scrap metal dealers from my garage on the one hand and on the other I had to remove the smut from the good parts. If you would like to shorten the restoration substantially, carry the components to a professional company to sandblast them. It's efficient and above all very fast. It took me days, weeks, months or years. My sense of time was lost completely by the monotonous work with the Flex, with sandpaper and various wire brushes. At least the neighbours made their jokes about my 'grinder service'. Remark: Cheap tools break down fast and don't operate desired.
The safty equipment should consist of eye protector, gloves, dust respirator and hearing protection. If sometimes the job is done, you can say satisfied 'It's self made'.
|
7. August 2004
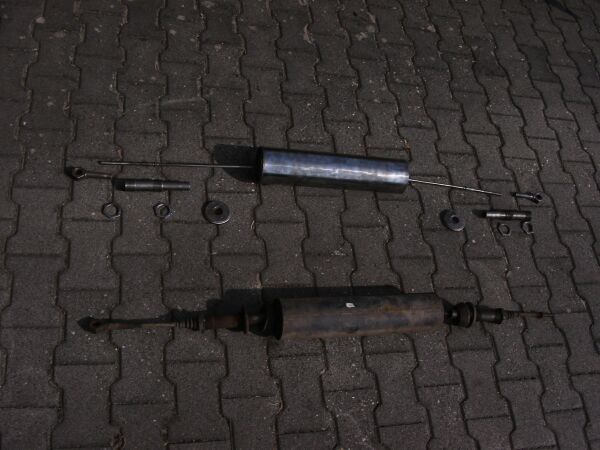
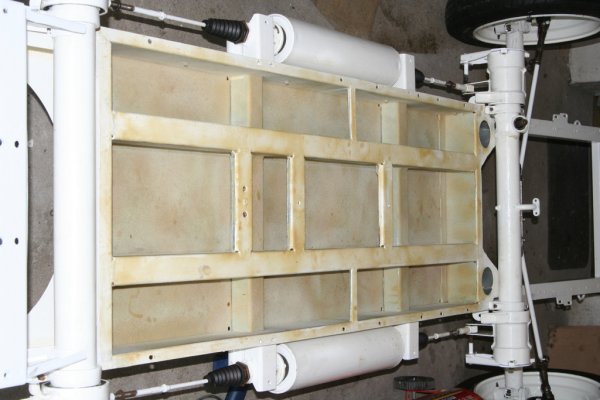
Small remark on the time needed to overhaul a 2CV:
Between ahead and back (you can see the spring pots here) approx. 90min of work passed by.
|
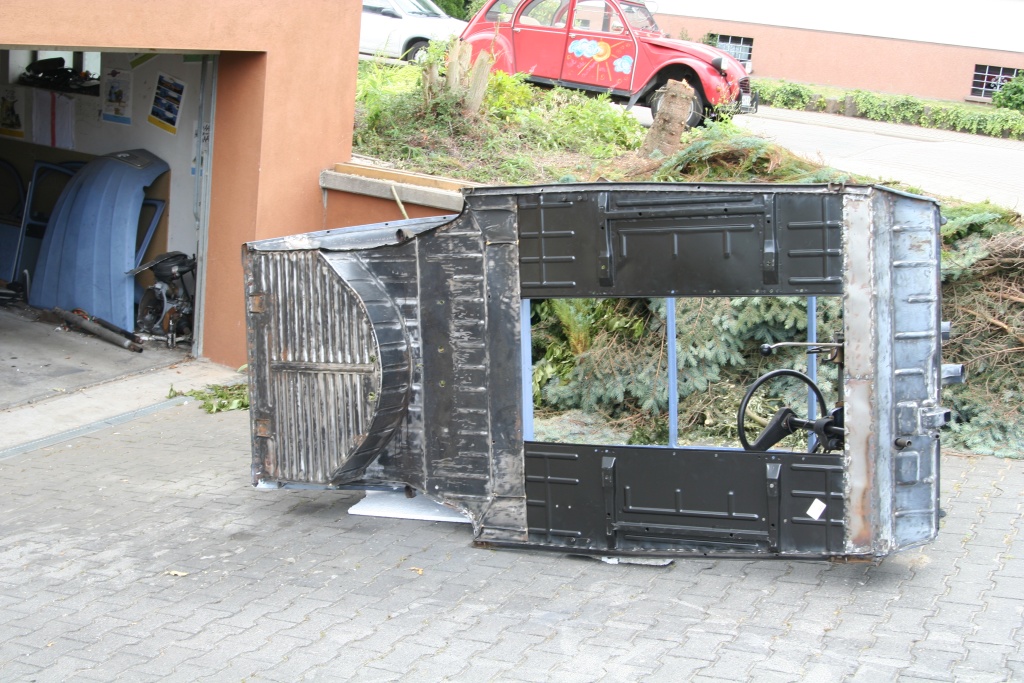
18. Juni 2005

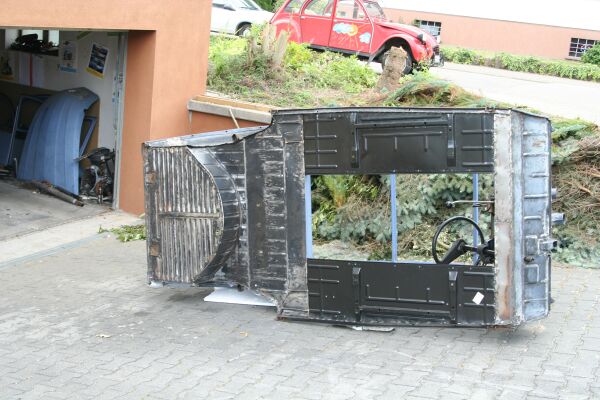
The new sheet metals are welded. Since I do not have a welding set, I did not implement these work. That was really the only trip of the duck components out of my garage.
|
26. Juni 2005
All new metal plates are welded.
|
New color is needed
|
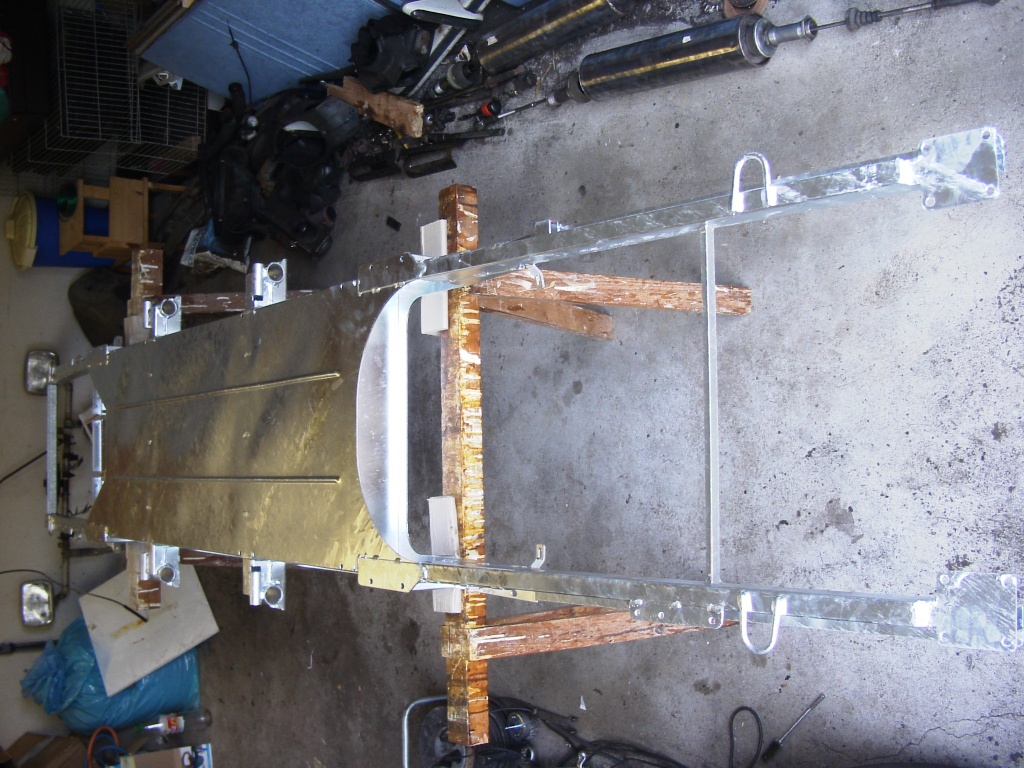
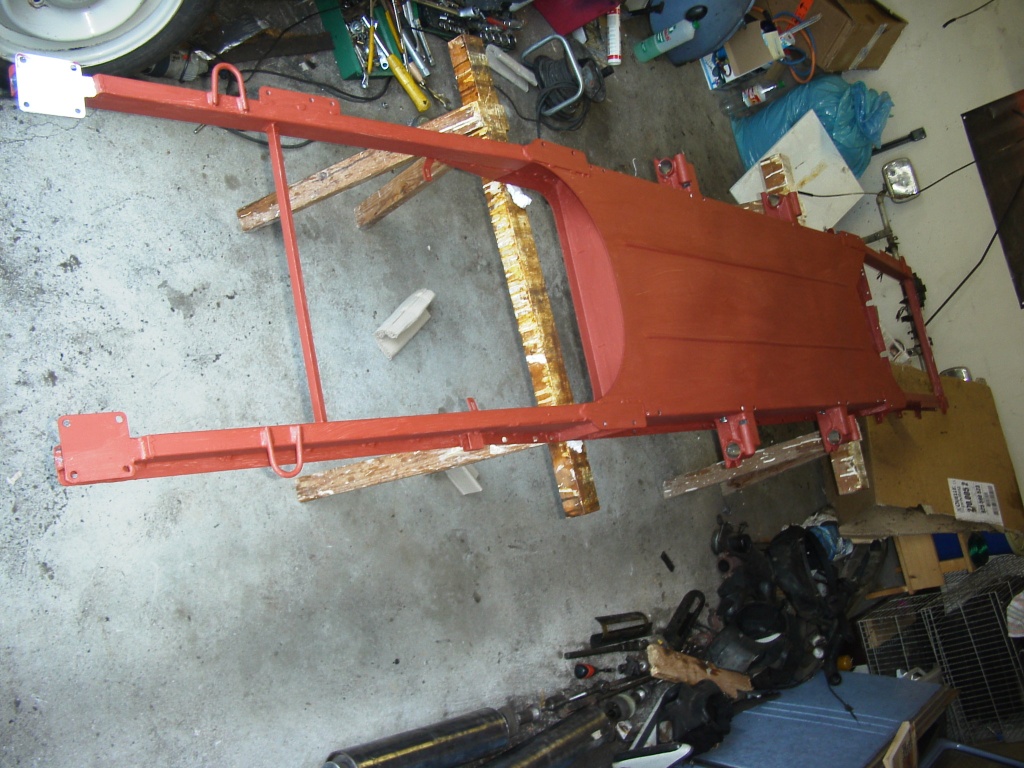
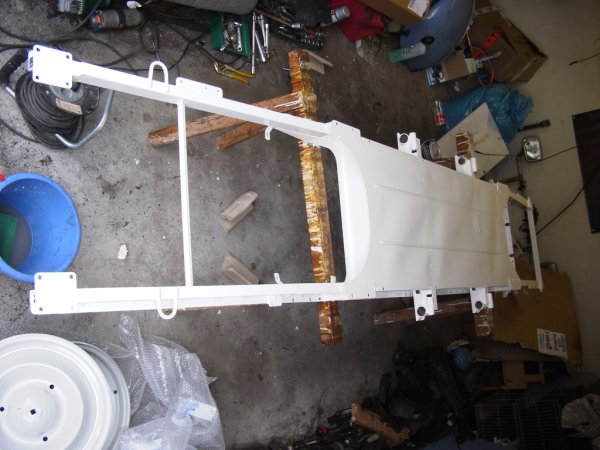
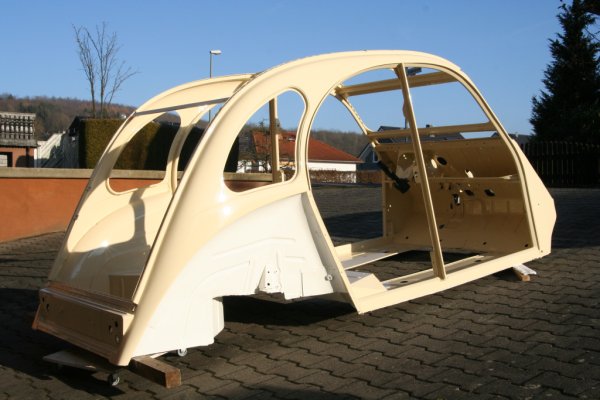
Painting the duck parts was the following section. I picked up brush and paint roller. The result is surely not hundred per cent, but I am pleased with me. In addition some of the drip studs are originaly French origin.
Buy at a specialist dealer. Priming and finish coating should fit to each other and the color must be fuel resistant. I decided to realize a design, which was never used by Citroën. It's traditional in my vehicle park. I always painted all of my cars at least partly.
How to protect the underbody is often diskussed. Therefore I like to present just my proceeding. I painted the chassis despite the galvanization. The galvanization is overstrained, if there are too large scratches and the moreover I wanted to treat the undercarriage completely with white color to make rust easily noticeable.
|
7. August 2005

|
7. August 2005

|
7. August 2005
|
10. Dezember 2005
Finishing work.
|
Antidegradants
|
|
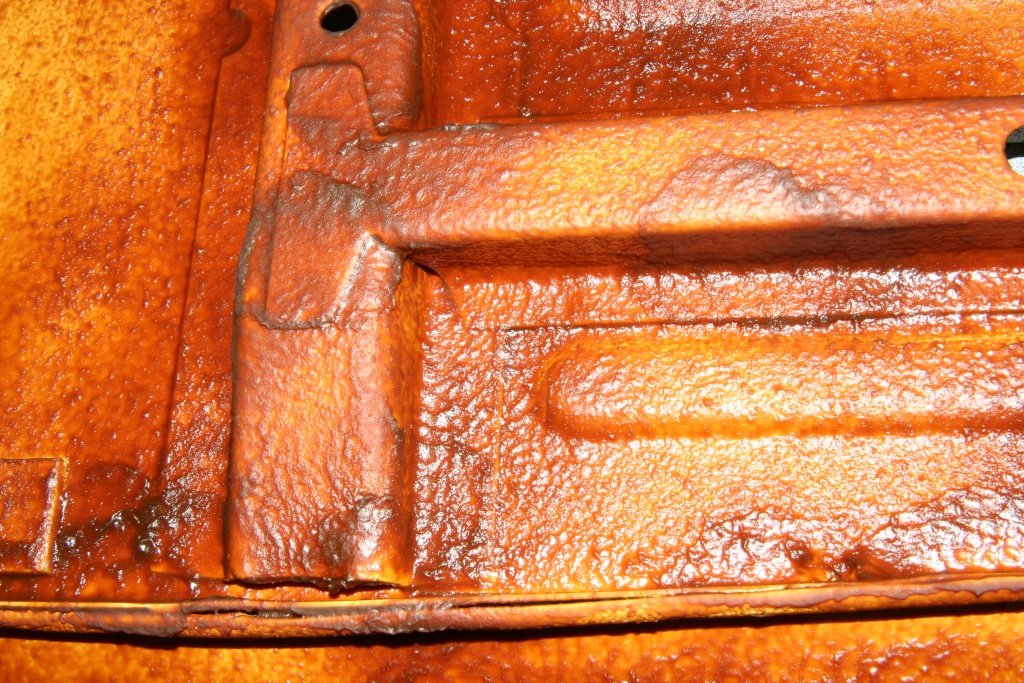
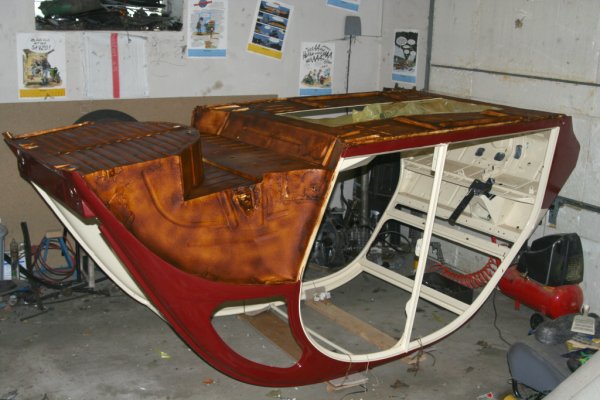
Just painting is not enough to prevent your car. I treated the under-floor with UBS 120. That is a waxlike material of brownish-transparent color. UBS 120 can't be covered with paint and remains flexible after the hardening by precipitation (it's waxlike). It doesn't crack open like the original bitumen did. It is favourable that this material flows into each crease and can be removed easily if necessary (substantially better than bitumen). You can see damage spots because of the transparency and simply re-paint if there is no rust yet. I took 4L to cover my duck. I didn't cover the chassis and the axles, since here are relatively smooth surfaces where at the humidity can't creep in. Not in the photo to see, but also treated with a protective wax layer are the insides of the fenders and the bumpers.
|
6. Juni 2006
|
6. Juni 2006

|
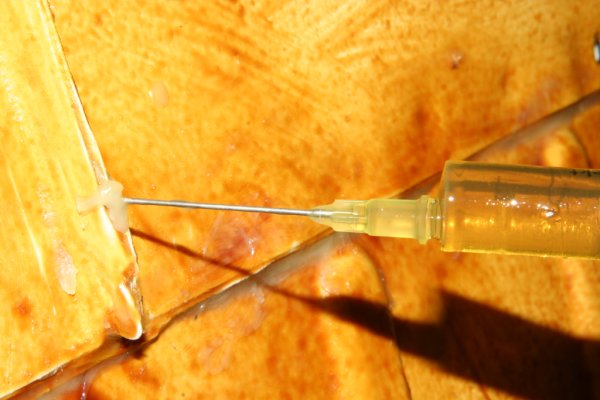
I treated the cavities with fat of the label 'Mike Sanders'. I don't want to repeat the entire slogan of the manufacturer, but like to remark that this substance is praised by many oldtimer owners. For processing, the fat has to be warmed up in a water quench. After that it can be squirted into the cavaties by means of pressed air. I do not own a cavity probe, however the raw body can be bent easily in all directions, so that the fat flows into all angles in such a way. Slightly warming up of the critical points with a hot air blower supports the flowing.
I treated sheet metal creases - particularly in the undercarriage - with the help of a one-way syringe. I did not cover these joints afterwards with acryl or silicone compounds. That does not prevent the penetration of humidity, but reliably the evaporating of it. Everywhere I scraped off this sealing compound, rust was to be seen - thus away from my car. A 5kg-bucket is sufficient for the complete treatment. The internal area of the galvanized chassis was treated likewise, since double precaution is better than rust. I also treated the rubber seals at apertures of the body or the seatings of the turn signals and tail lamps etc. If it's one day detected, that this fat is responsible for the ozone hole or for the extinction of the pandas, I just can surround my car with concrete and sink it at the deepest point of the ocean...
|
6. Juni 2006
|
7. Juni 2006
|
|
Back to part 2 - Analysis of the weak points
|