|
|
Back to tank / fuel pump Forward to carburetor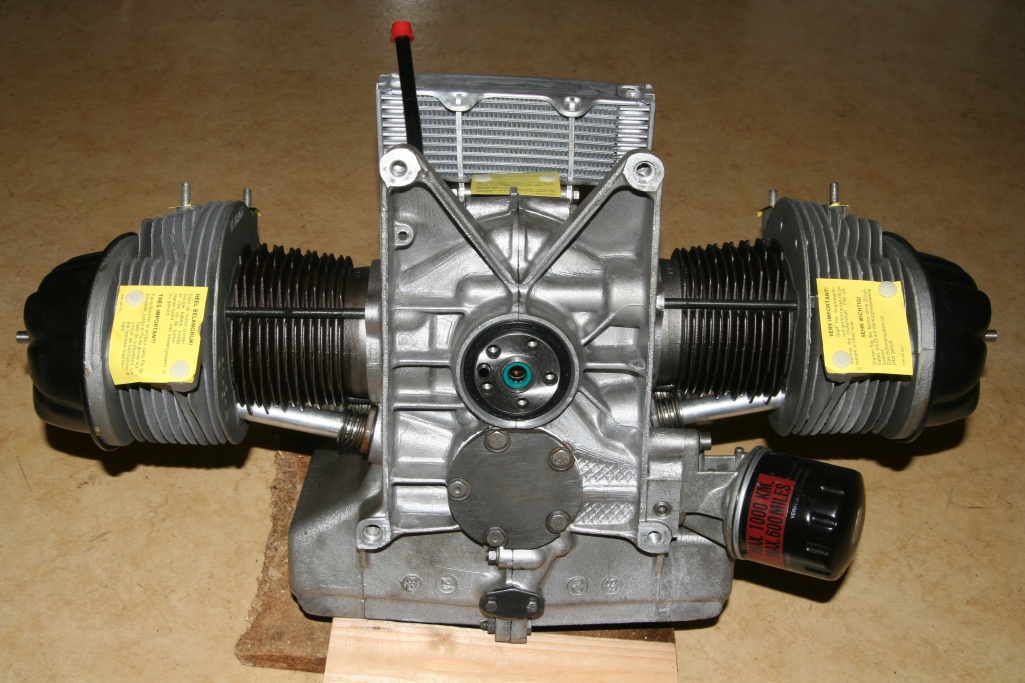 The new engine - just out of the packing. 602 cubic centimeters capacity provide 21kW, according to 29PS with 5750U/min. The drilling marked with the arrow serves for adjusting the ignition and makes it possible in addition to lock the engine with a 6mm-drill or something like that for some steps during assembling. The second method to block the engine consists of holding simply a large screwdriver or a crowbar into the flywheel. The sealing of the crankshaft takes place with the help of a silicone gasket, which is strengthened with a steel spring. If the engine is loosing oil, it can be because of this construction unit. At the front part of the crankshaft you can see another ring with smaller diameter. 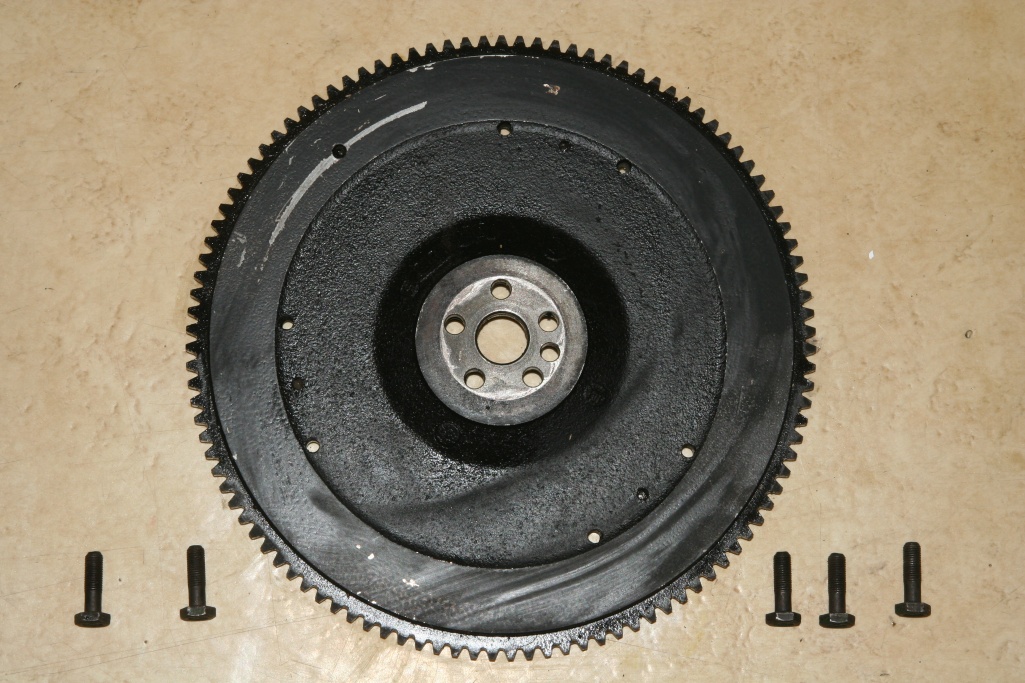 First the flywheel is installed. This is fastened with five screws, which must be renewed after each disassembly of the flywheel, since these screws are exposed to strong loads. A loosened flywheel can cause serious damage at engine and transmission. The arrow marks the drilling, with whose assistance the ignition can be set up correctly (see photo). 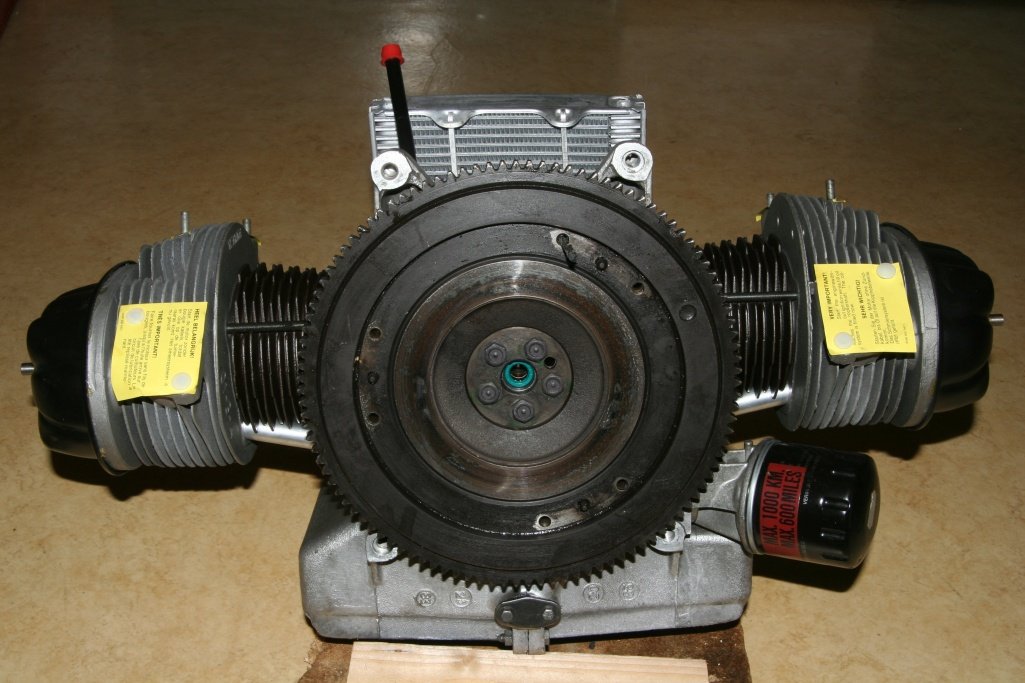 The right torque of the screws is 45 Nm.  Now the clutch is fixed. The photo shows right down additionally the old expressing camp. The clutch disk has to be replaced if the groovings become too plain. Otherwise the rivets scratch the flywheel and the clutch housing. 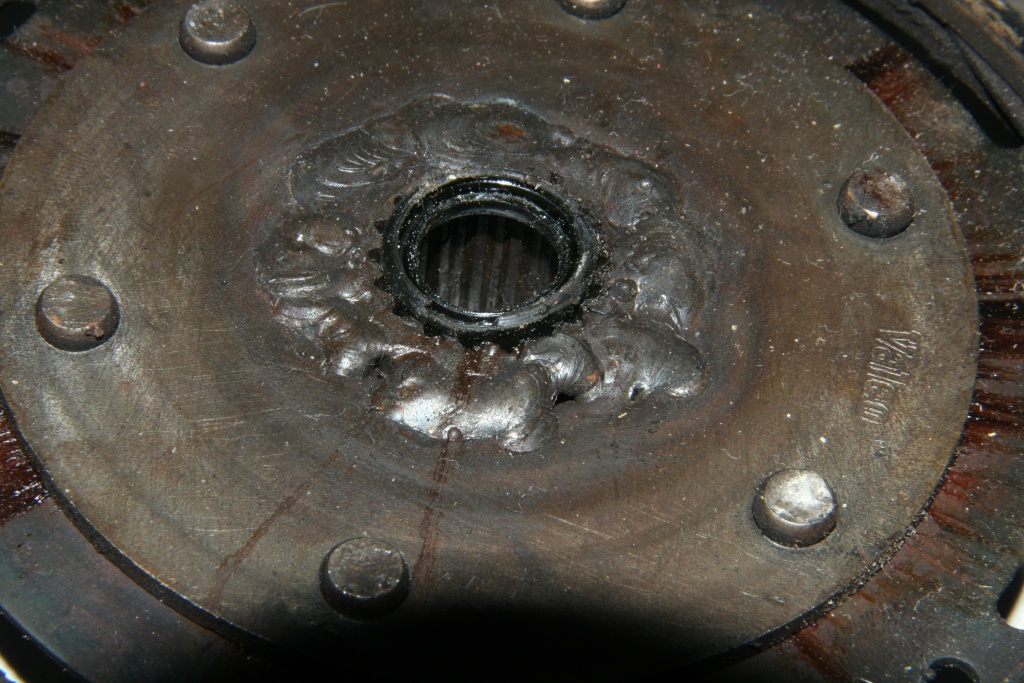 Besides a small photo of a really inappropriate clutch repair. Here probably the actuator of the clutch disk was broken and had been welded again! 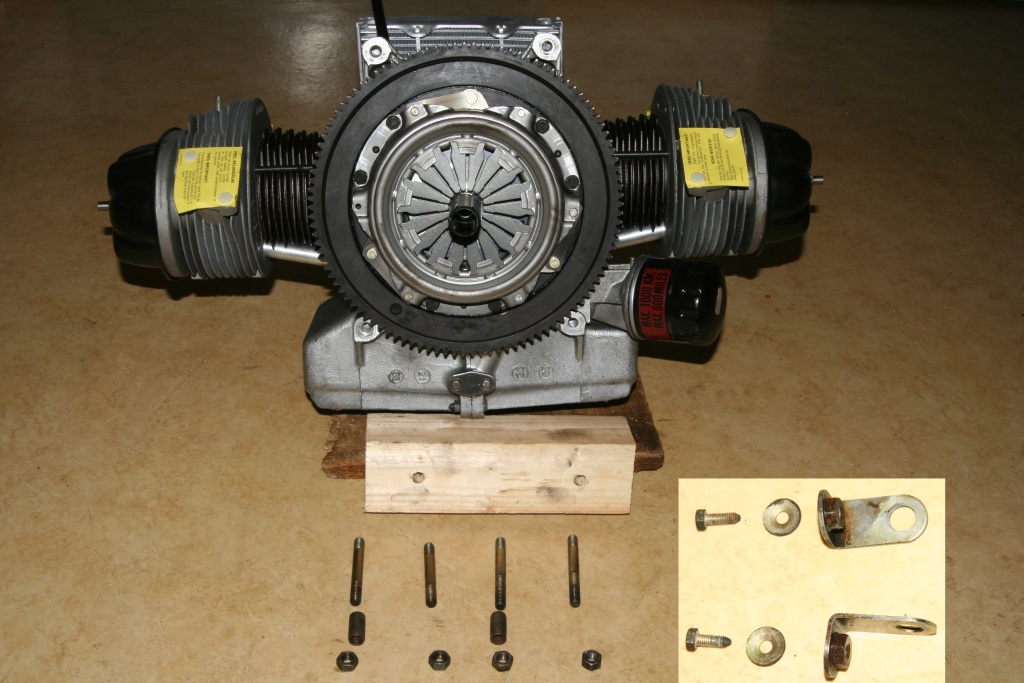 Put the plastic centering assistance into the crankshaft and raise the clutch disk (the longer center section points to the gearbox). Assemble the clutch bell with 15 Nm. Thanks to Siegfried, who advised me of the mistake concerning the mounting position of the cluch disk. Still after 1 1/2 mounted 2CVs and 5 years of screwing work (as at August of 2009) I am still a newbie and you should always proove my words written here. Please inform me about all inconsistent things you'll find at my pages - thank you! If the engine cannot be pushed onto the transmission, it can be because of the fact that the clutch disk was wrongly inserted or wasn't correctly centered. You also can proceed also as follows: Turn the clutch bell only easily, so that the clutch disk is locked lightly, but still can be moved. Now put engine and gear together and then carefully separate the engine again without shifting the clutch disk again. Now tighten the clutch bell with 15Nm. At the photo the attaching pins for the gearbox can be seen. They are used in the following section. The longer pins come above, the shorter down to the engine mount - in each case with the shorter thread toward engine. At the left down and on the top right of the photo small tubes are pushed over the pins. Don't forget The two small angles at the lower pins (as I did). Here the air deflectors of the brake disks are fastened later. The welded nuts point outward and to the engine. Here you can see a photo of the installed parts.  The gearbox side of the drive unit. Here still the old expressing camp can be seen. After change of this camp do not forget to grease the transmission axle (I had to disassemble the engine again). The clutch cable is hung up later into the groove at the lower end of the black lever.  The clutch cable leads to the interior with a screw sleeve. The two screw nuts attached here are used to adjuts the couppling slack. The bigger one (1) points to the housing, the smaller one (2) is for securing nut number one. Loosen the two nuts and unscrew both. Now pull strongly at the cable and screw the bigger nut untill there is a space of 3-5mm between the housing and the nut (red arrows). Now start the engine, pull the handbrake, put your foot on the brake, couple and shift to the 3rd gear. The engine should stop turnig after 2/3 of the way back. If this happens earlier, turn nut (1) direction housing. If the engine stops too late, turn out the bigger nut. As soon as you found the right point, you can fix the position by turning the smaller nut to the bigger one. If you can't adjust the clutch by turnig out the bigger nut you will have to replace the clutch. 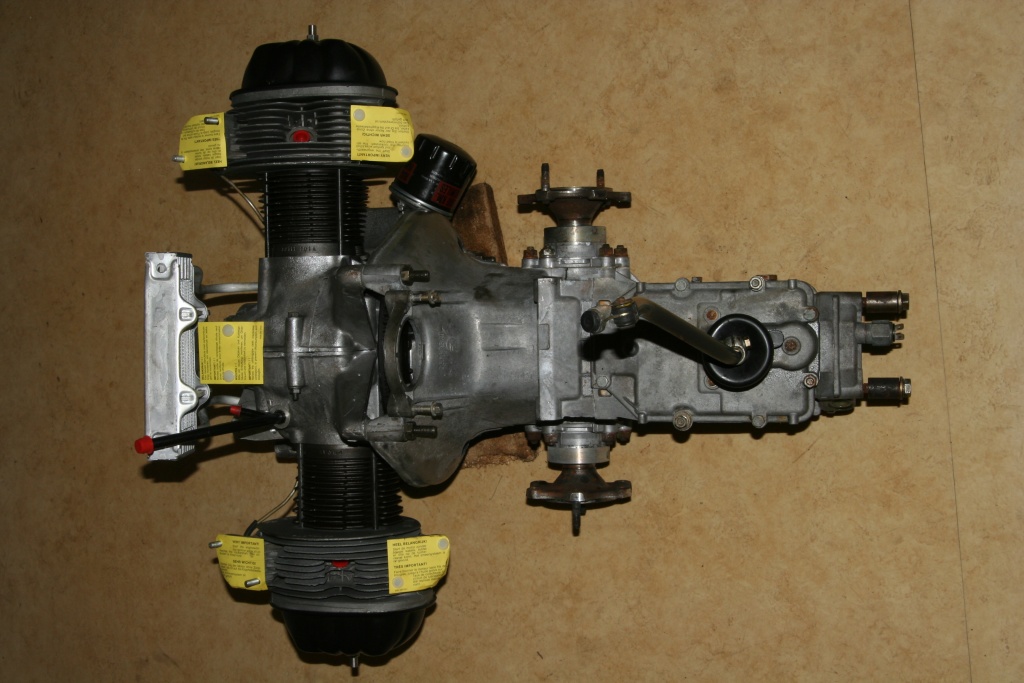 Engine and gearbox are connected. 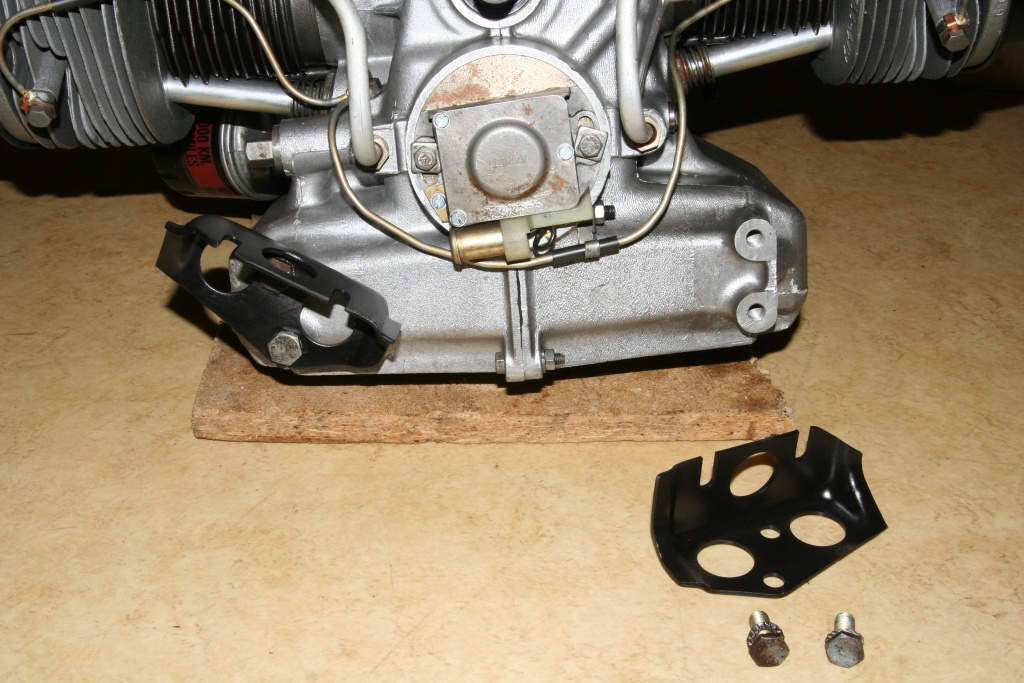 The front engine attachments. 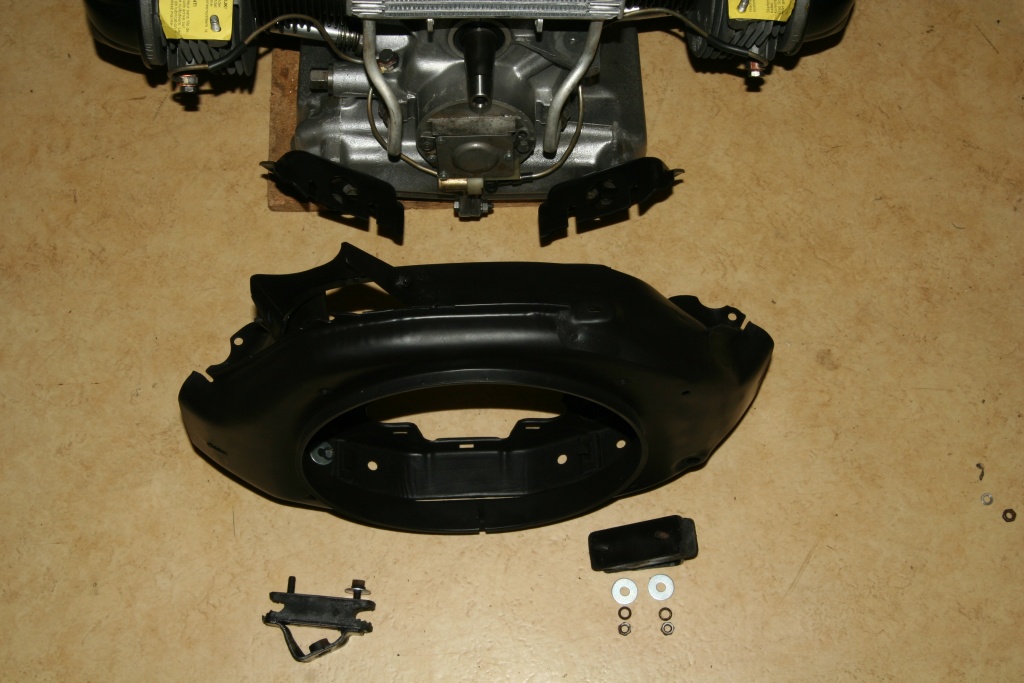 There both, the fan-casing and the rubber connections of the engine are fixed. 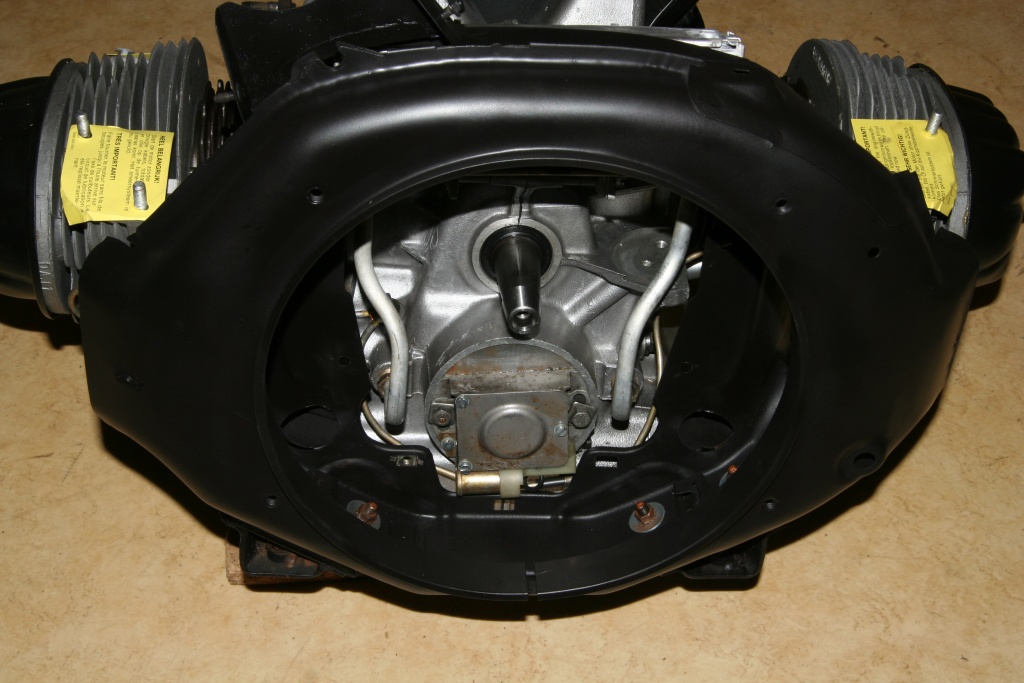 - - 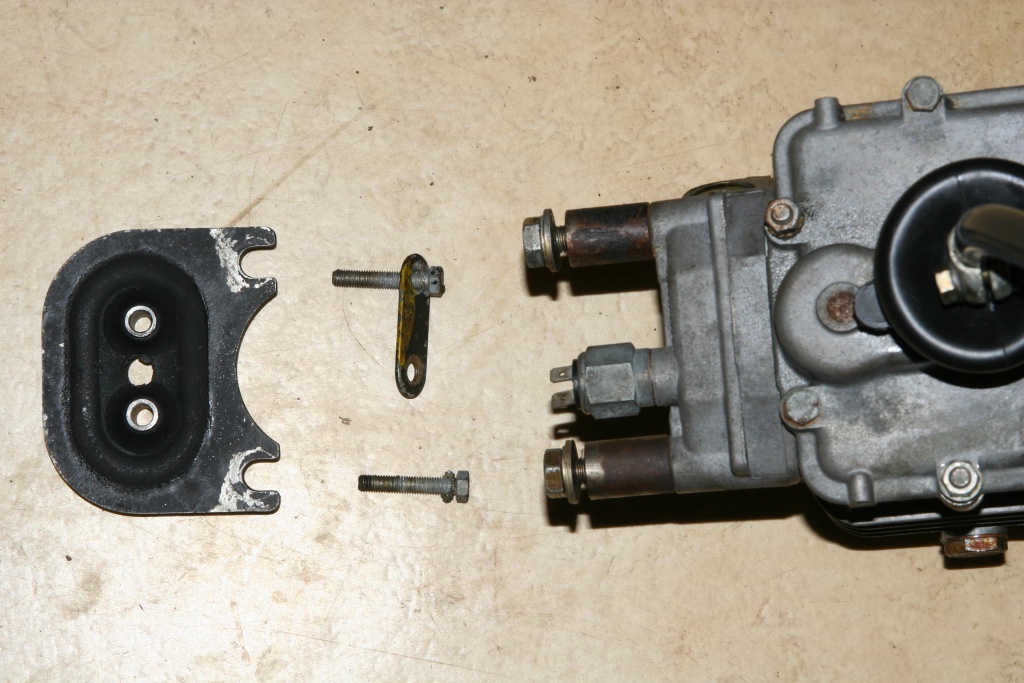 The rear connection of chassis and gearbox. If the gearshift agitates autonomous when driving your car, you should examine this rubber block exactly. 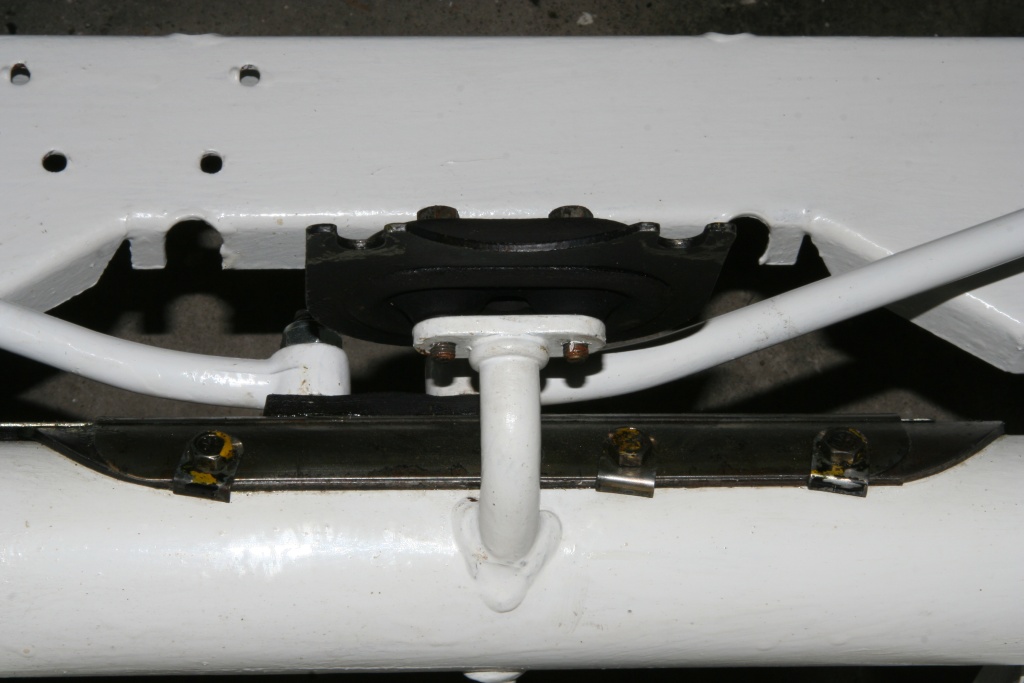 The rubber block is fixed at the front axle, the transmission is then hung up and bolted afterwards. 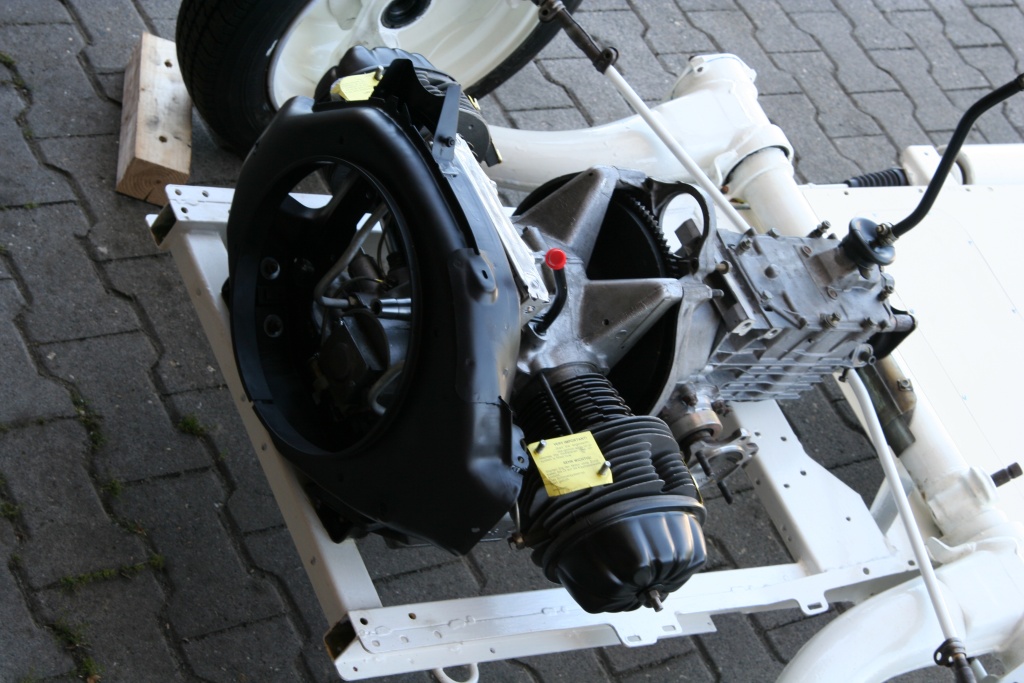 Now tighten the two screw connections at the front of the chassis and the actuation has its regular set regained. Back to tank / fuel pump Forward to carburetor |