|
|
Back to servicing Forward to kingpins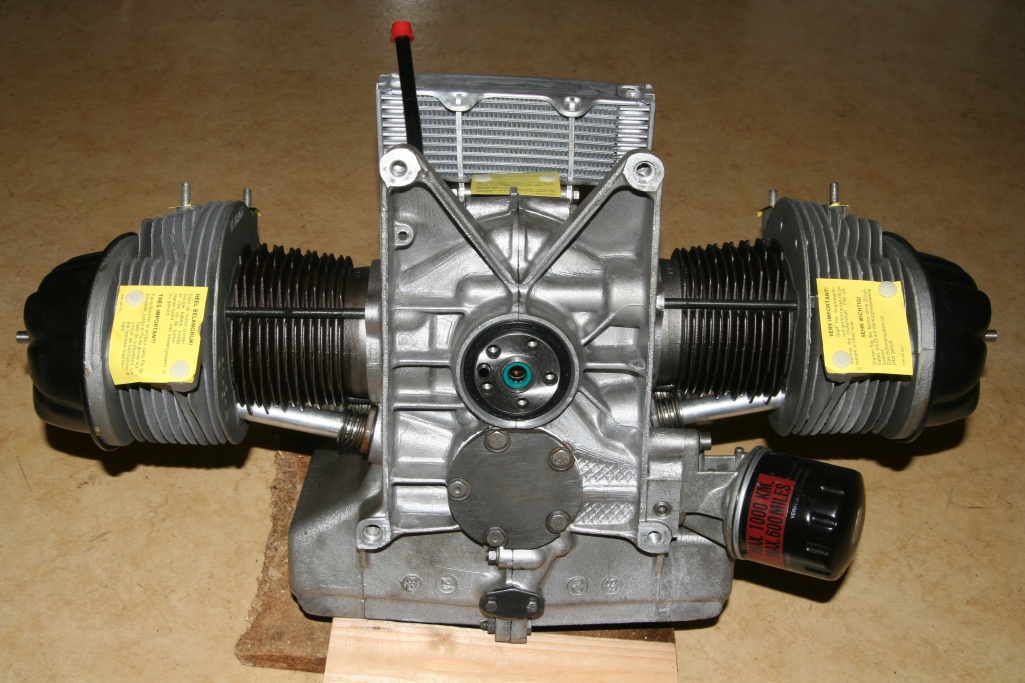 I can't confirm the statement, that a duck engines always lose some oil. The completely overhauled engine, which I've bought for my No. 1 doesen't leave marks everywhere in the landscape. 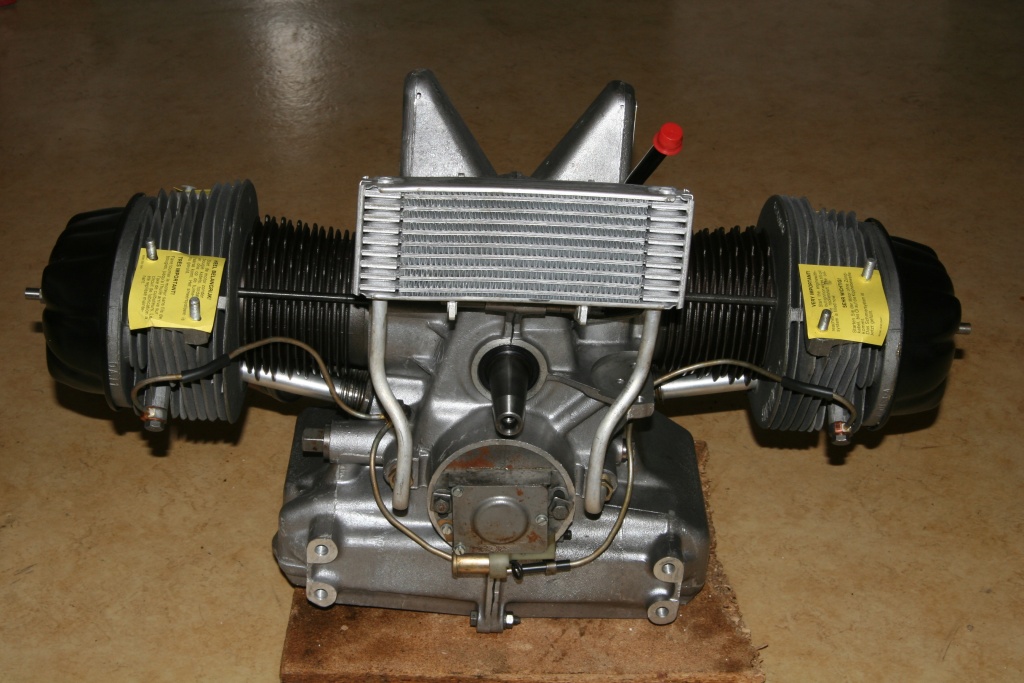 If the gloss diminishes, there are however some places where the lubricant can find a way outward. First you have to find the place of this leakage. Do an engine washing now. Following now an overview of the suspicious points. 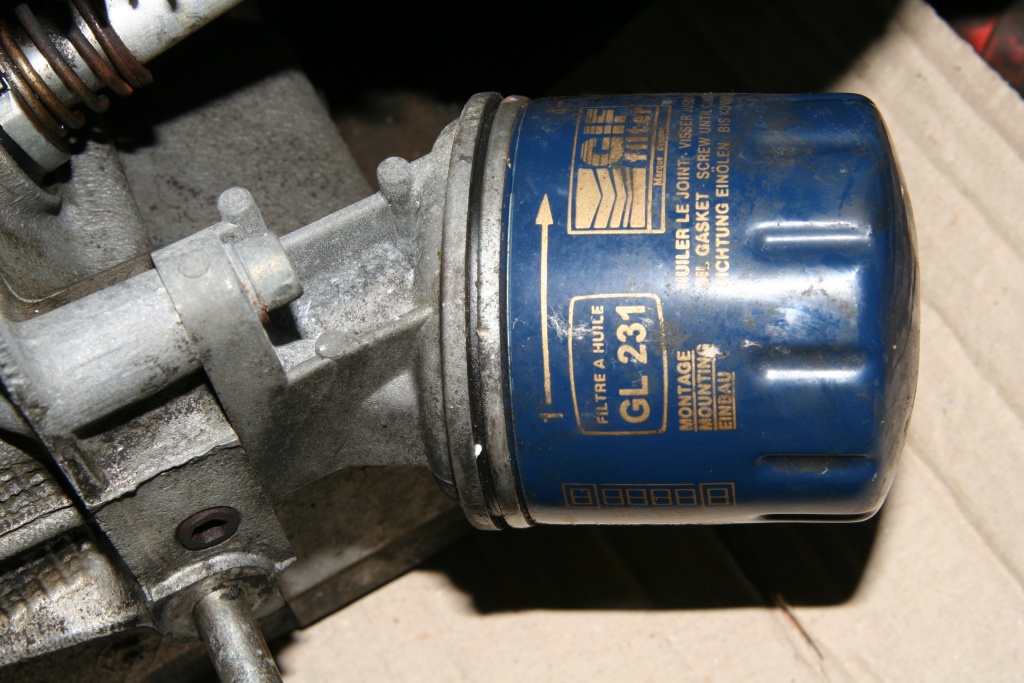 May be the oil filter was not tightened firmly with the last exchange. 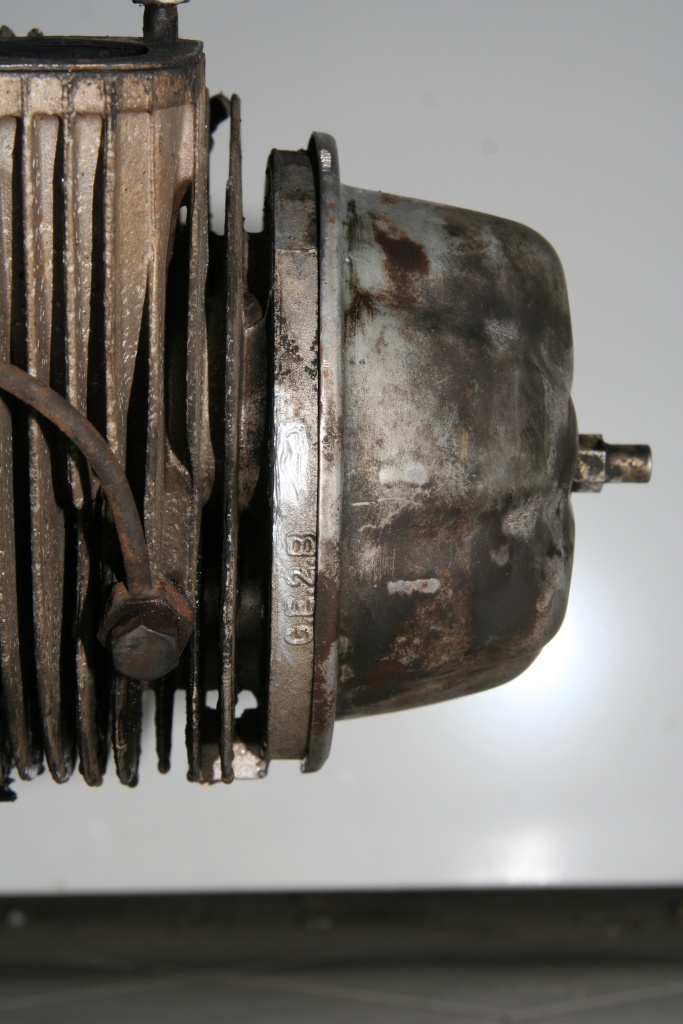 The seals of the cylinder head covers are actually to be exchanged when adjusting the valve clearance. If that hasn't been done, oil can withdraw in these places. Use new seals with the next adjustment procedure! If the cover was tightened too firmly only once, it is bend upwards on the edge and thereby it's damaged. How the cylinder head cover is to be installed correctly, is described here. On the lower left the oil supply from the oil pump to the pistons can be seen. Examine carefully whether the screw is correctly tightened and possibly exchange the seal.  In the left of the picture the return path of the oil cooler can be seen. In order to be able to tighten this screw again, the fan must be disassembled. Now the screw can be tightened again with a suitable wrench. Be careful! Screw and engine housings consist of light alloy and should not be overturned! Rather tighten sightly first, control whether everything is okay and possibly tighten again. The seals in these places are to be replaced after each disassembly of the oil cooler. Have a look at those parts. In the center the oil pressure switch can be seen. This can perhaps loosen. The seal consists of a copper ring. Completely right a tube is to be seen, in which the push rods run. The appropriate seals can be defective.  To be able to replace them, the fenders and the manifold spider have to be removed. The zylinderheads are connected with the zylinders by metal sheets. Those plates can be removed after unscrewing two sheet metal screws.  Now the zylinger head covers and afterwards the zylinderheads can be removed. When attaching the zylinderheads afterwards, use the following procedure: Fasten all three nuts by hand. In doing so, pay attetion, that the cylinderhead is not jammed, that the seals are correctly fitting to their metal covers and are also not jammed somehow, or else you might destroy the tubes of the push rods when fastening the zylinderhead! Now attach the manifold spyder and fasten their screws slightly by hand, so that it is planar to the in and outlet of the cylinderheads. Yet tighten the three nuts with a torque of 10Nm. Number one is the upper front (driving direction), number two the upper rear and number three the lower nut. Do the same procedure with a torque of 20Nm. After removing the manifold spyder check the nuts once again with a torque of 20Nm. While disassembling the cylinderheads, remove them in opposite order. 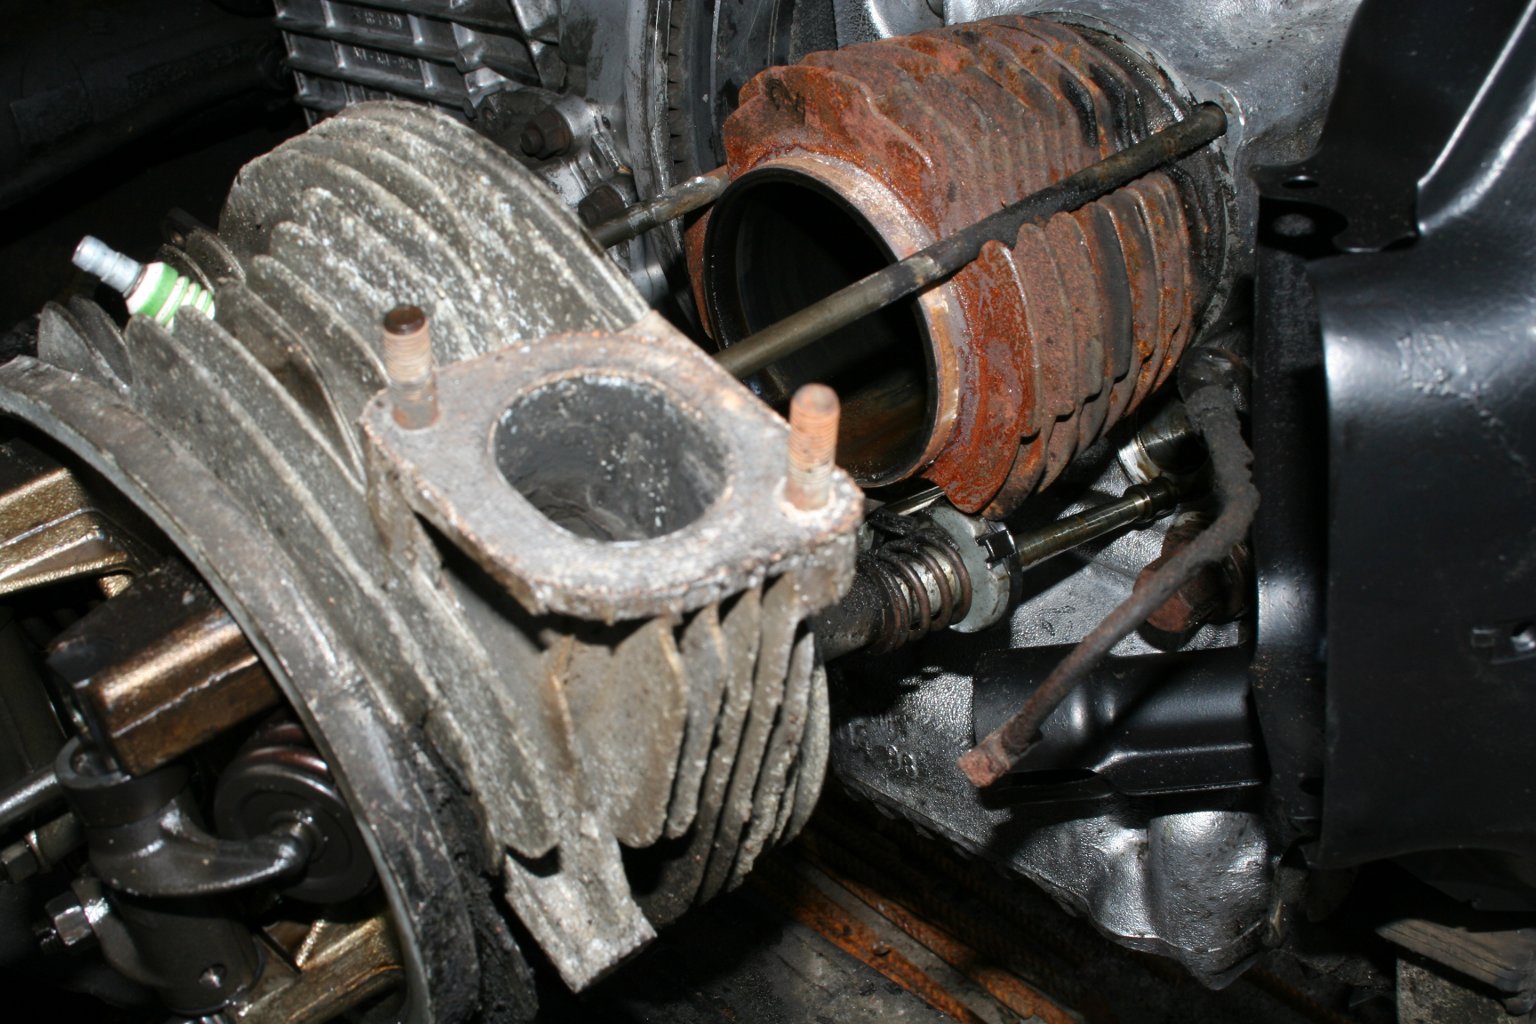 Now the cylinderheads... 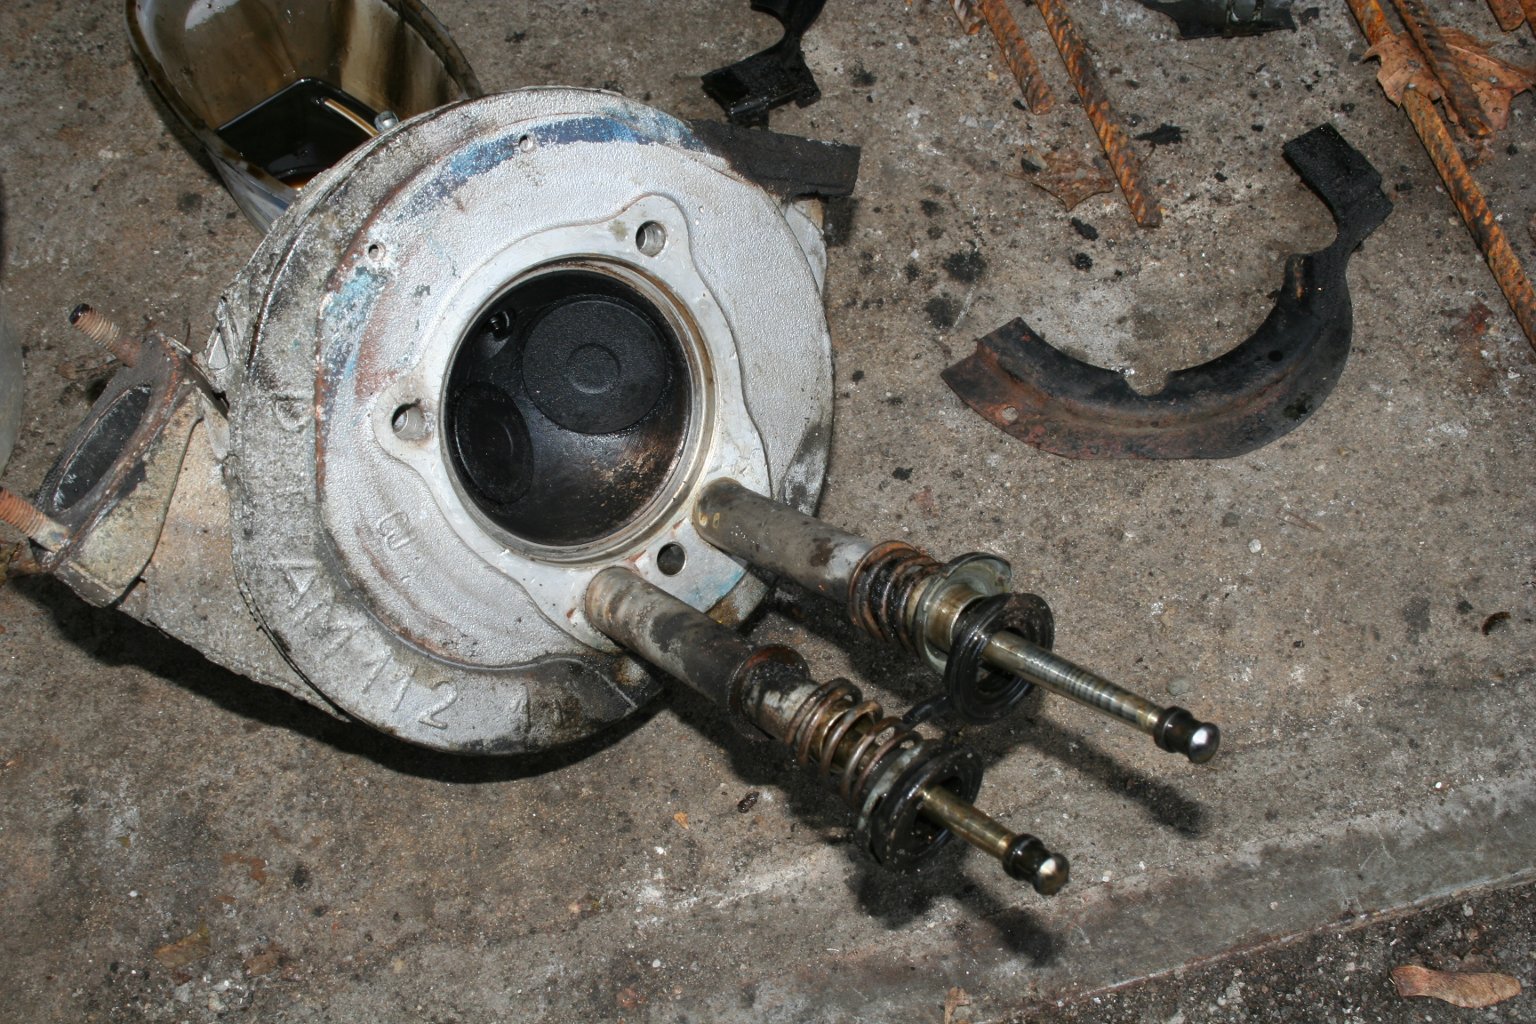 ...can be removed. Pay attention not to remove the cylinders! Cylinderhead and cylinder can be seperated by carefully levering them off with a screwdriver.  While attaching the sealings, pay attention to the correct position. The flattened areas of the gaskets are pointing to the top and have to fit to the accordant spot of the metal covers. I purchased silicone gaskets, which are red, more expensive and (according to believable reports) more reliable. 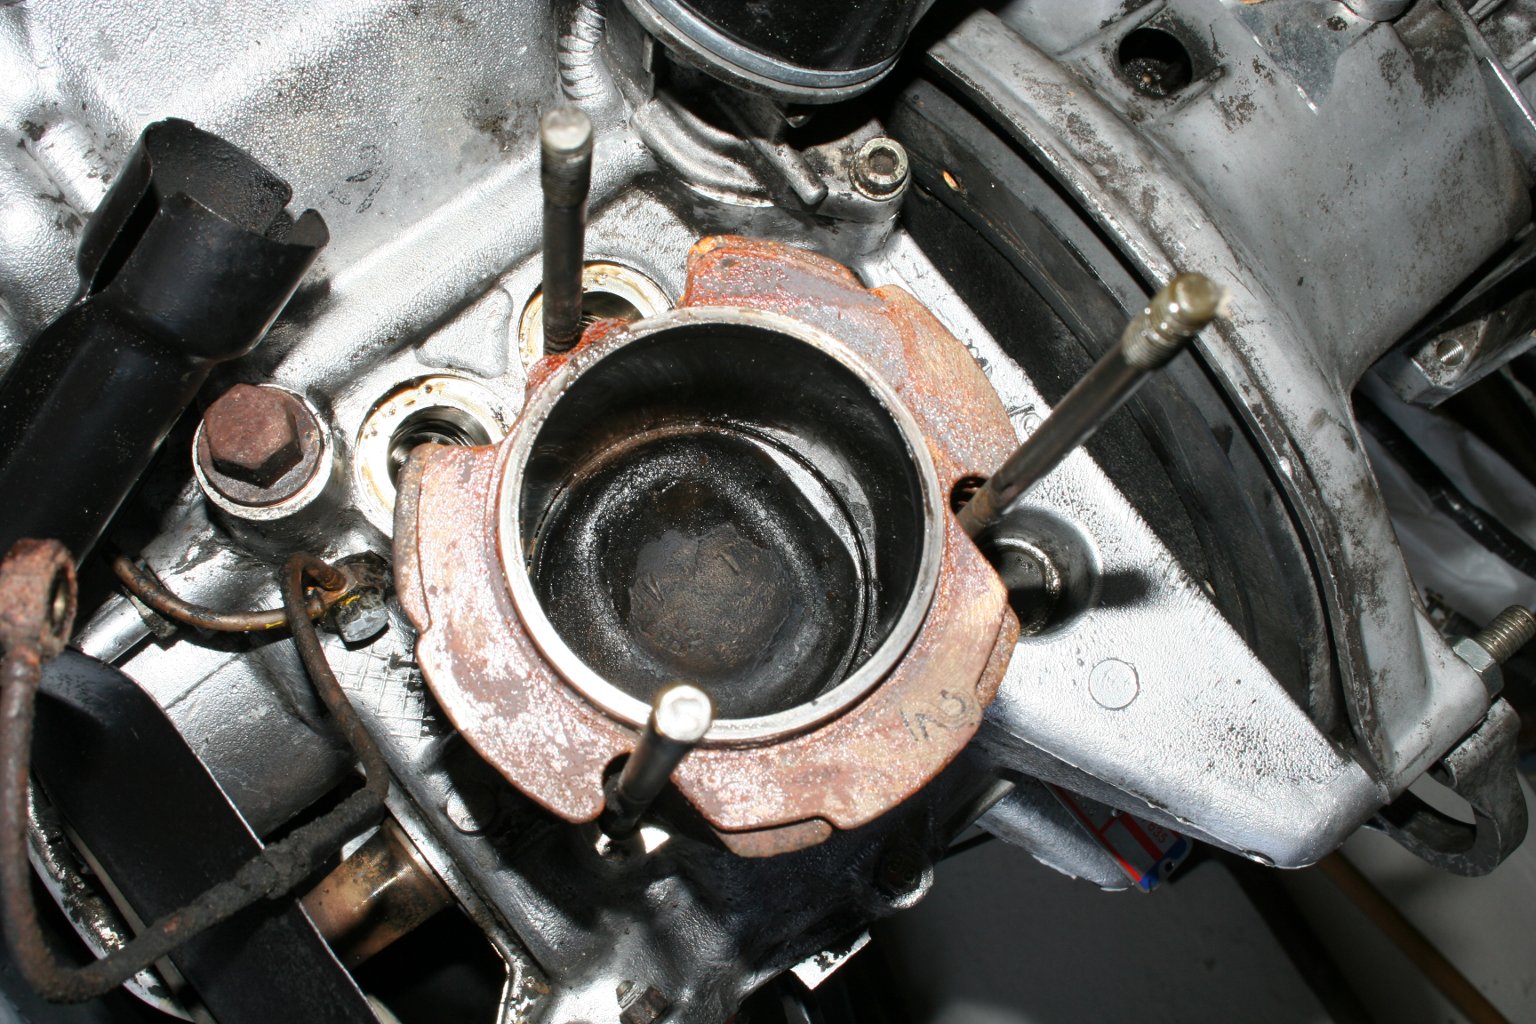 While the cylinderheads are removed, you can do a roundtrip with your fingernail aurond the inside of the cylinders. There should be no remarkable scratches or else there might have been a slight piston jamming and cylinder + pistons have to be replaced. Now the cylinderheads can be attached like described above. After reassembling the cylinderheads you have to adjust the valve clearance. 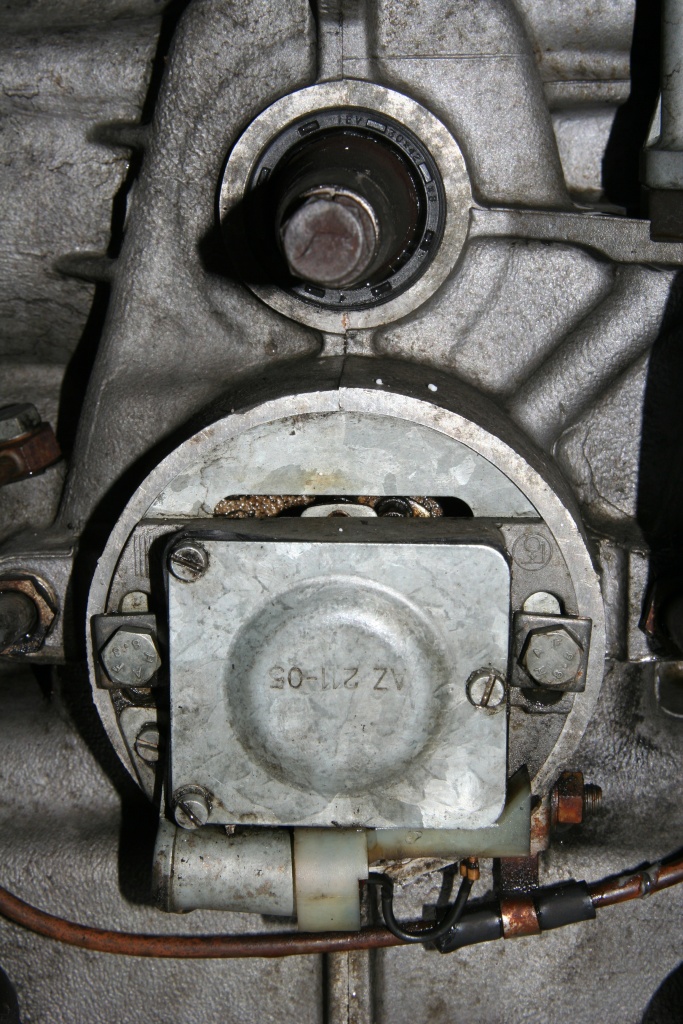 The front sealing ring of the crankshaft (above) can be examined only after disassembling the fan. Further information about the replacement can be read further down. Behind the housing of then circuit breaker is the front mount of the cam shaft. If oil withdraws here, you've got a large problem. This mount is really not easy to replace. Watch out for a special garage. Christian noticed, that the housing of the circuit breaker is mounted upside down at this photo. Here you can see how it should look like. 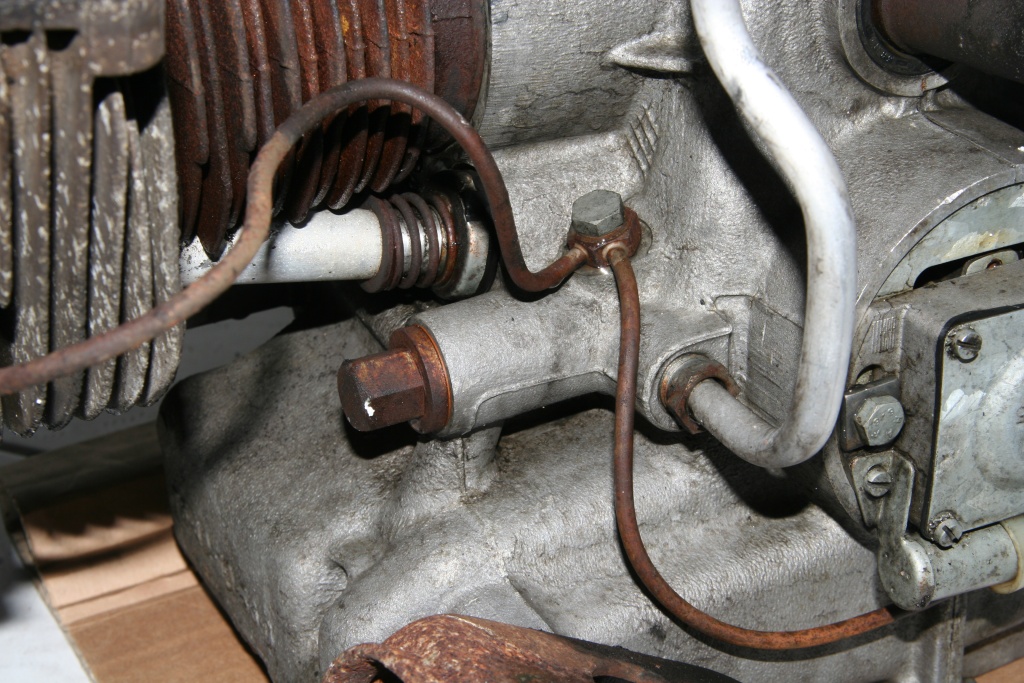 In the center are the outlets of the oil pump to the oil cooler and to the cylinders. Check carefully whether all screw connections are correctly tightened here. 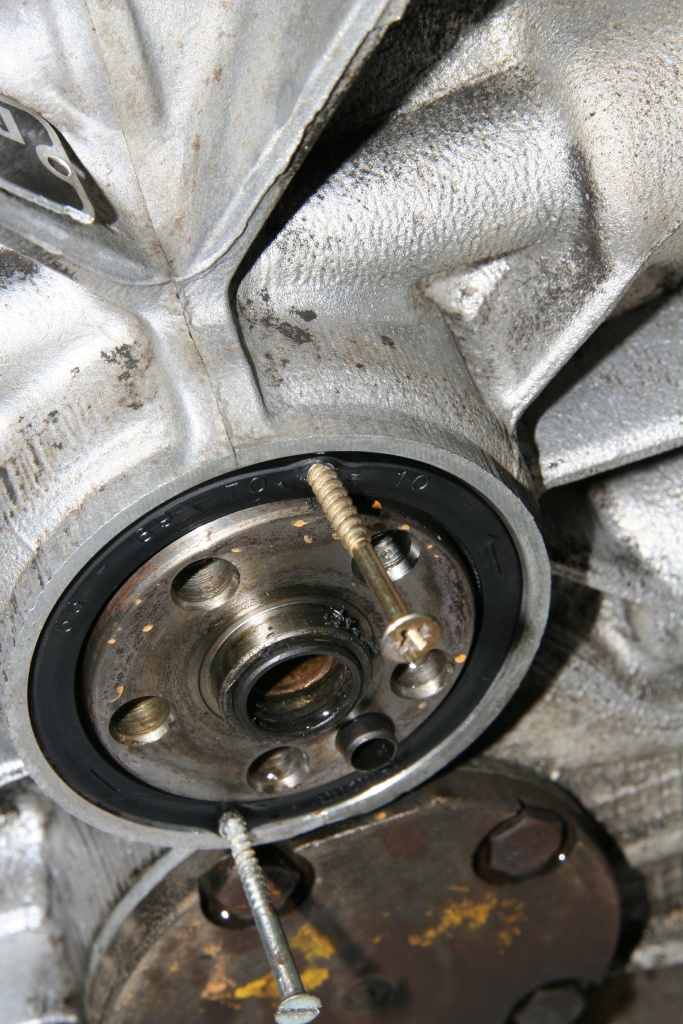 The rear sealing ring of the crankshaft. In order to approach at these, the flywheel must be dismantled. The fixing bolts of this flywheel can not be reused - order with the new sealing also new fixing bolts! Do not use a screwdriver to dismantle this ring! The housing is made of light alloy and damaged fastly. Scratches at the crankshaft, are also worse. These scratches plane the new sealing ring at the lip and so it's ruined again. Turn two thin screws approximately 5mm deep in the ring (under no circumstances too deep!) and pull it out with a plier. The screws should be really thin to avoid scratches at housing or crankshaft. The upper copy in the photo is actually already too thick and I was lucky that I did not scratch anything.  Here you can see that the upper screw was not completely inside the ring. 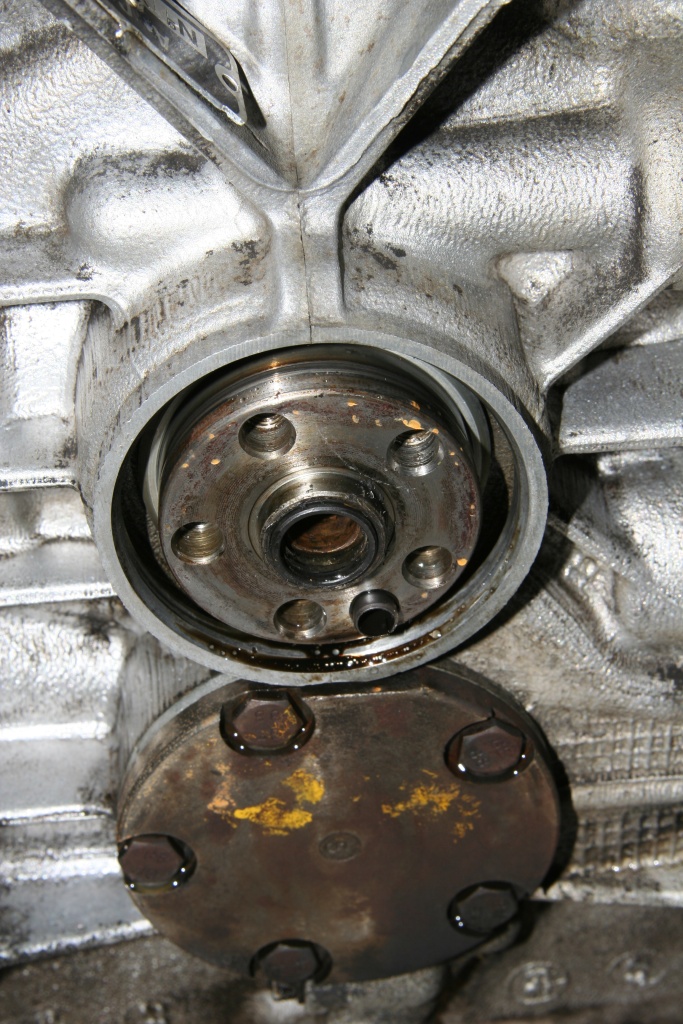 Now clean the camp thoroughly (in the photo not made yet). At the bottom you can see the cover plate of the oil pump. Oil leakage here is rather atypical and a defective pump means work for special garages. 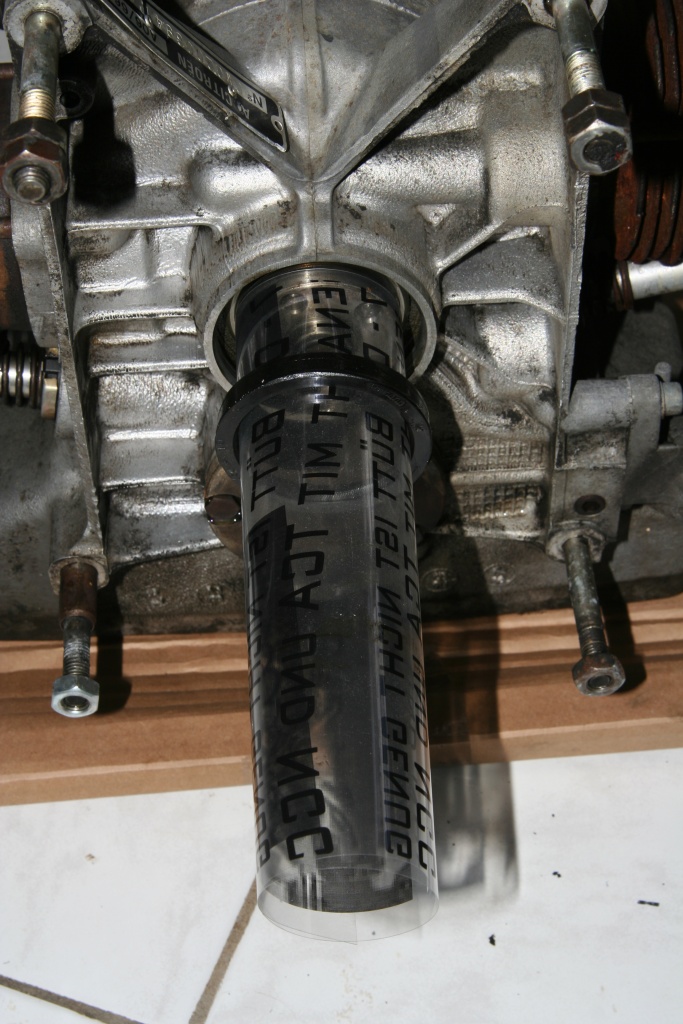 Put some oil on the new sealing ring before the assembly. Now a foil is very useful. Fold the foil as shown at the photo and put the ring on.  Now the sealing ring can be pusched at the intended place and the foil can be pulled out afterwards. Don't push the sealing too deeply! The ring must be flush with the edge of the housing! 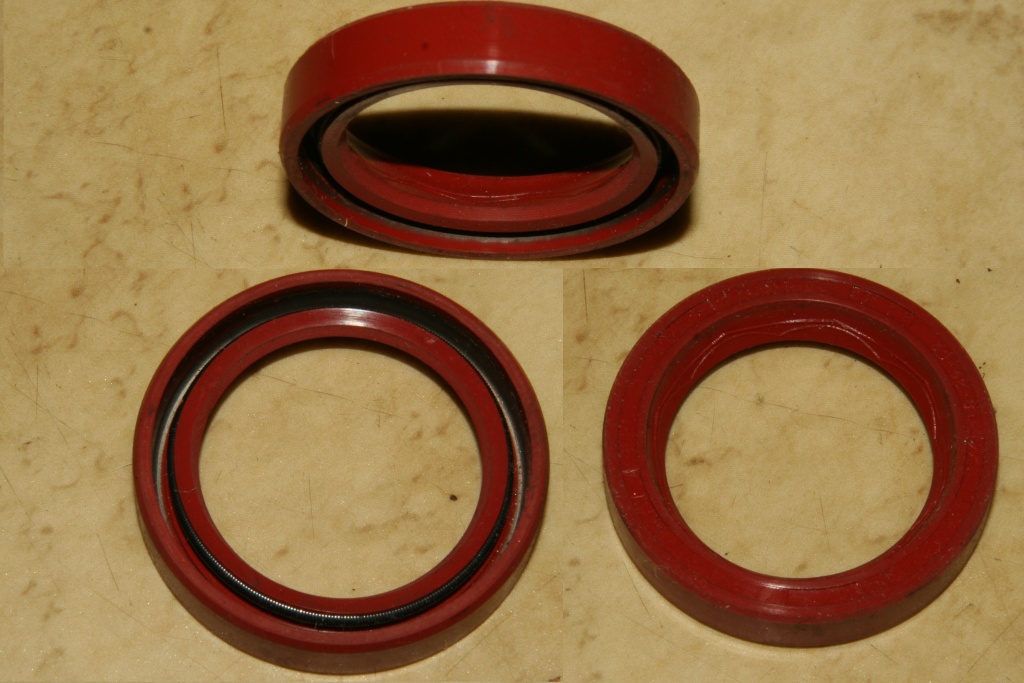 Thus the rear ring looks like from different perspectives. 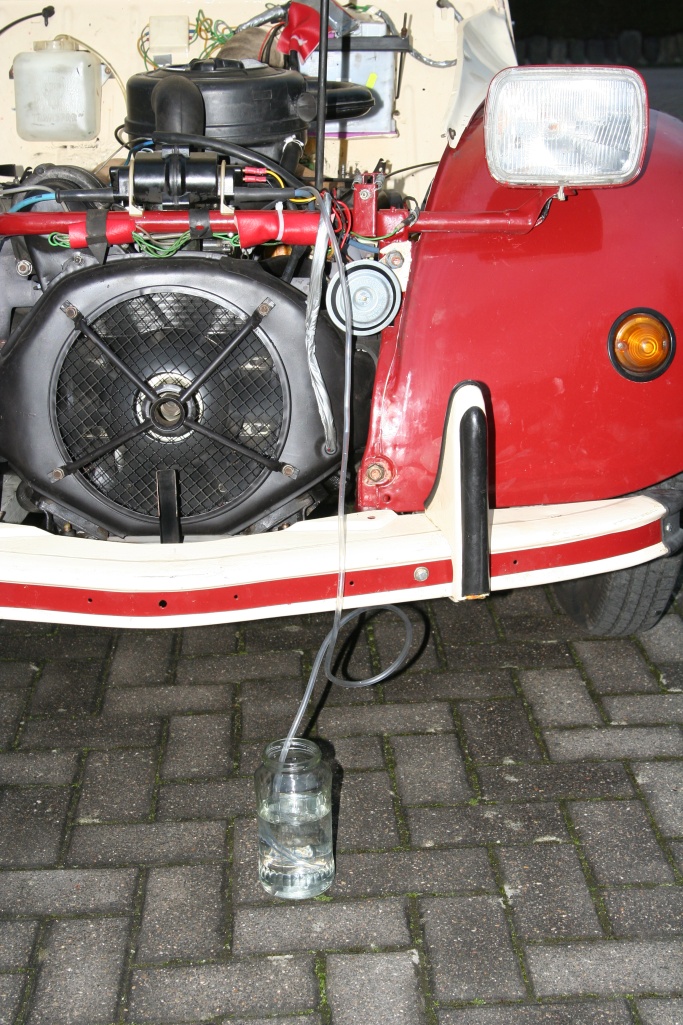 A further construction unit to examine at excessive oil loss, is the flutter valve in the oil filler neck. For this purpose you can build easily a suitable manometer. Only approx. 1Meter transparent hose and a water glass is needed. A piece of the fuel hose can be taken, which leads forward from the tank. Put the water glass on the grund and start the engine. If everything is correct, the water in the hose rises at least 5cm high. This climbing height should remain constant both in the idle operation, and with a higher number of revolutions. With my new filler neck water was climbing 50cm.  One end the has to be attached at the pipe of the engine oil dipstick. Put some tape around the hose in order to receive the appropriate thickness of the pipe (here no air may penetrate into the crank case). In the normal operation the engine oil dipstick must lock this opening closely. Also control thereby the seal of the cover of the oil filler neck. If you find out that this flutter valve is broken, you normaly have to replace the whole oil filler neck. An other method I found at the homepage of Terje Ellefsrød. He just put a valve at the cap of the oil filler neck. For more informations see column 'links'. Back to servicing Forward to kingpins |